Prerequisites
Before you start with this tutorial, make sure you have the following tool installed on your machine: In addition to the above tools, this tutorial assumes that you have a basic understanding of Solidity and Next.jsSetting up Next.js App
First, create a directory for the project and then initialize a Next.js app using the following command in your terminal:Adding TailwindCSS
Tailwind CSS is a utility-first CSS framework that enables you to rapidly build user interfaces. We will use it to style our app. First, we need to install thetailwindcss, postcss, and autoprefixerdependencies. These dependencies are
necessary for TailwindCSS to work properly in a Next.js app.
Run the following command to install them:
tailwind.config.js and
postcss.config.js. These files contain the configuration for Tailwind CSS and
PostCSS, respectively. Next, open the tailwind.config.js file in code editor
of your choice and replace its contents with the following code:
./styles/globals.css
file.
The smart contract
Now that the project setup is completed, we can start writing smart contracts for our application. In this article, I will be using Solidity.A smart contract is a decentralized program that responds to events by executing business logic.To quickly create and deploy a contract, you can use Remix - a browser-based IDE developed by the Ethereum Foundation. Here’s how you can get started:
- Open your web browser and go to remix.ethereum.org.
- Create a new workspace by selecting Blank.
- Copy and paste the below contract code into the editor.
- Switch to the Deploy tab.
- Add Hyperspace testnet to your Metamask account and choose your network from the Environment tab.
- If everything goes well, you should see a success message at the bottom of the IDE window along with your contract address.
- To download the artifacts folder from Remix, click on the backup folder and
look for the folder inside the
.workspacedirectory.
The Frontend
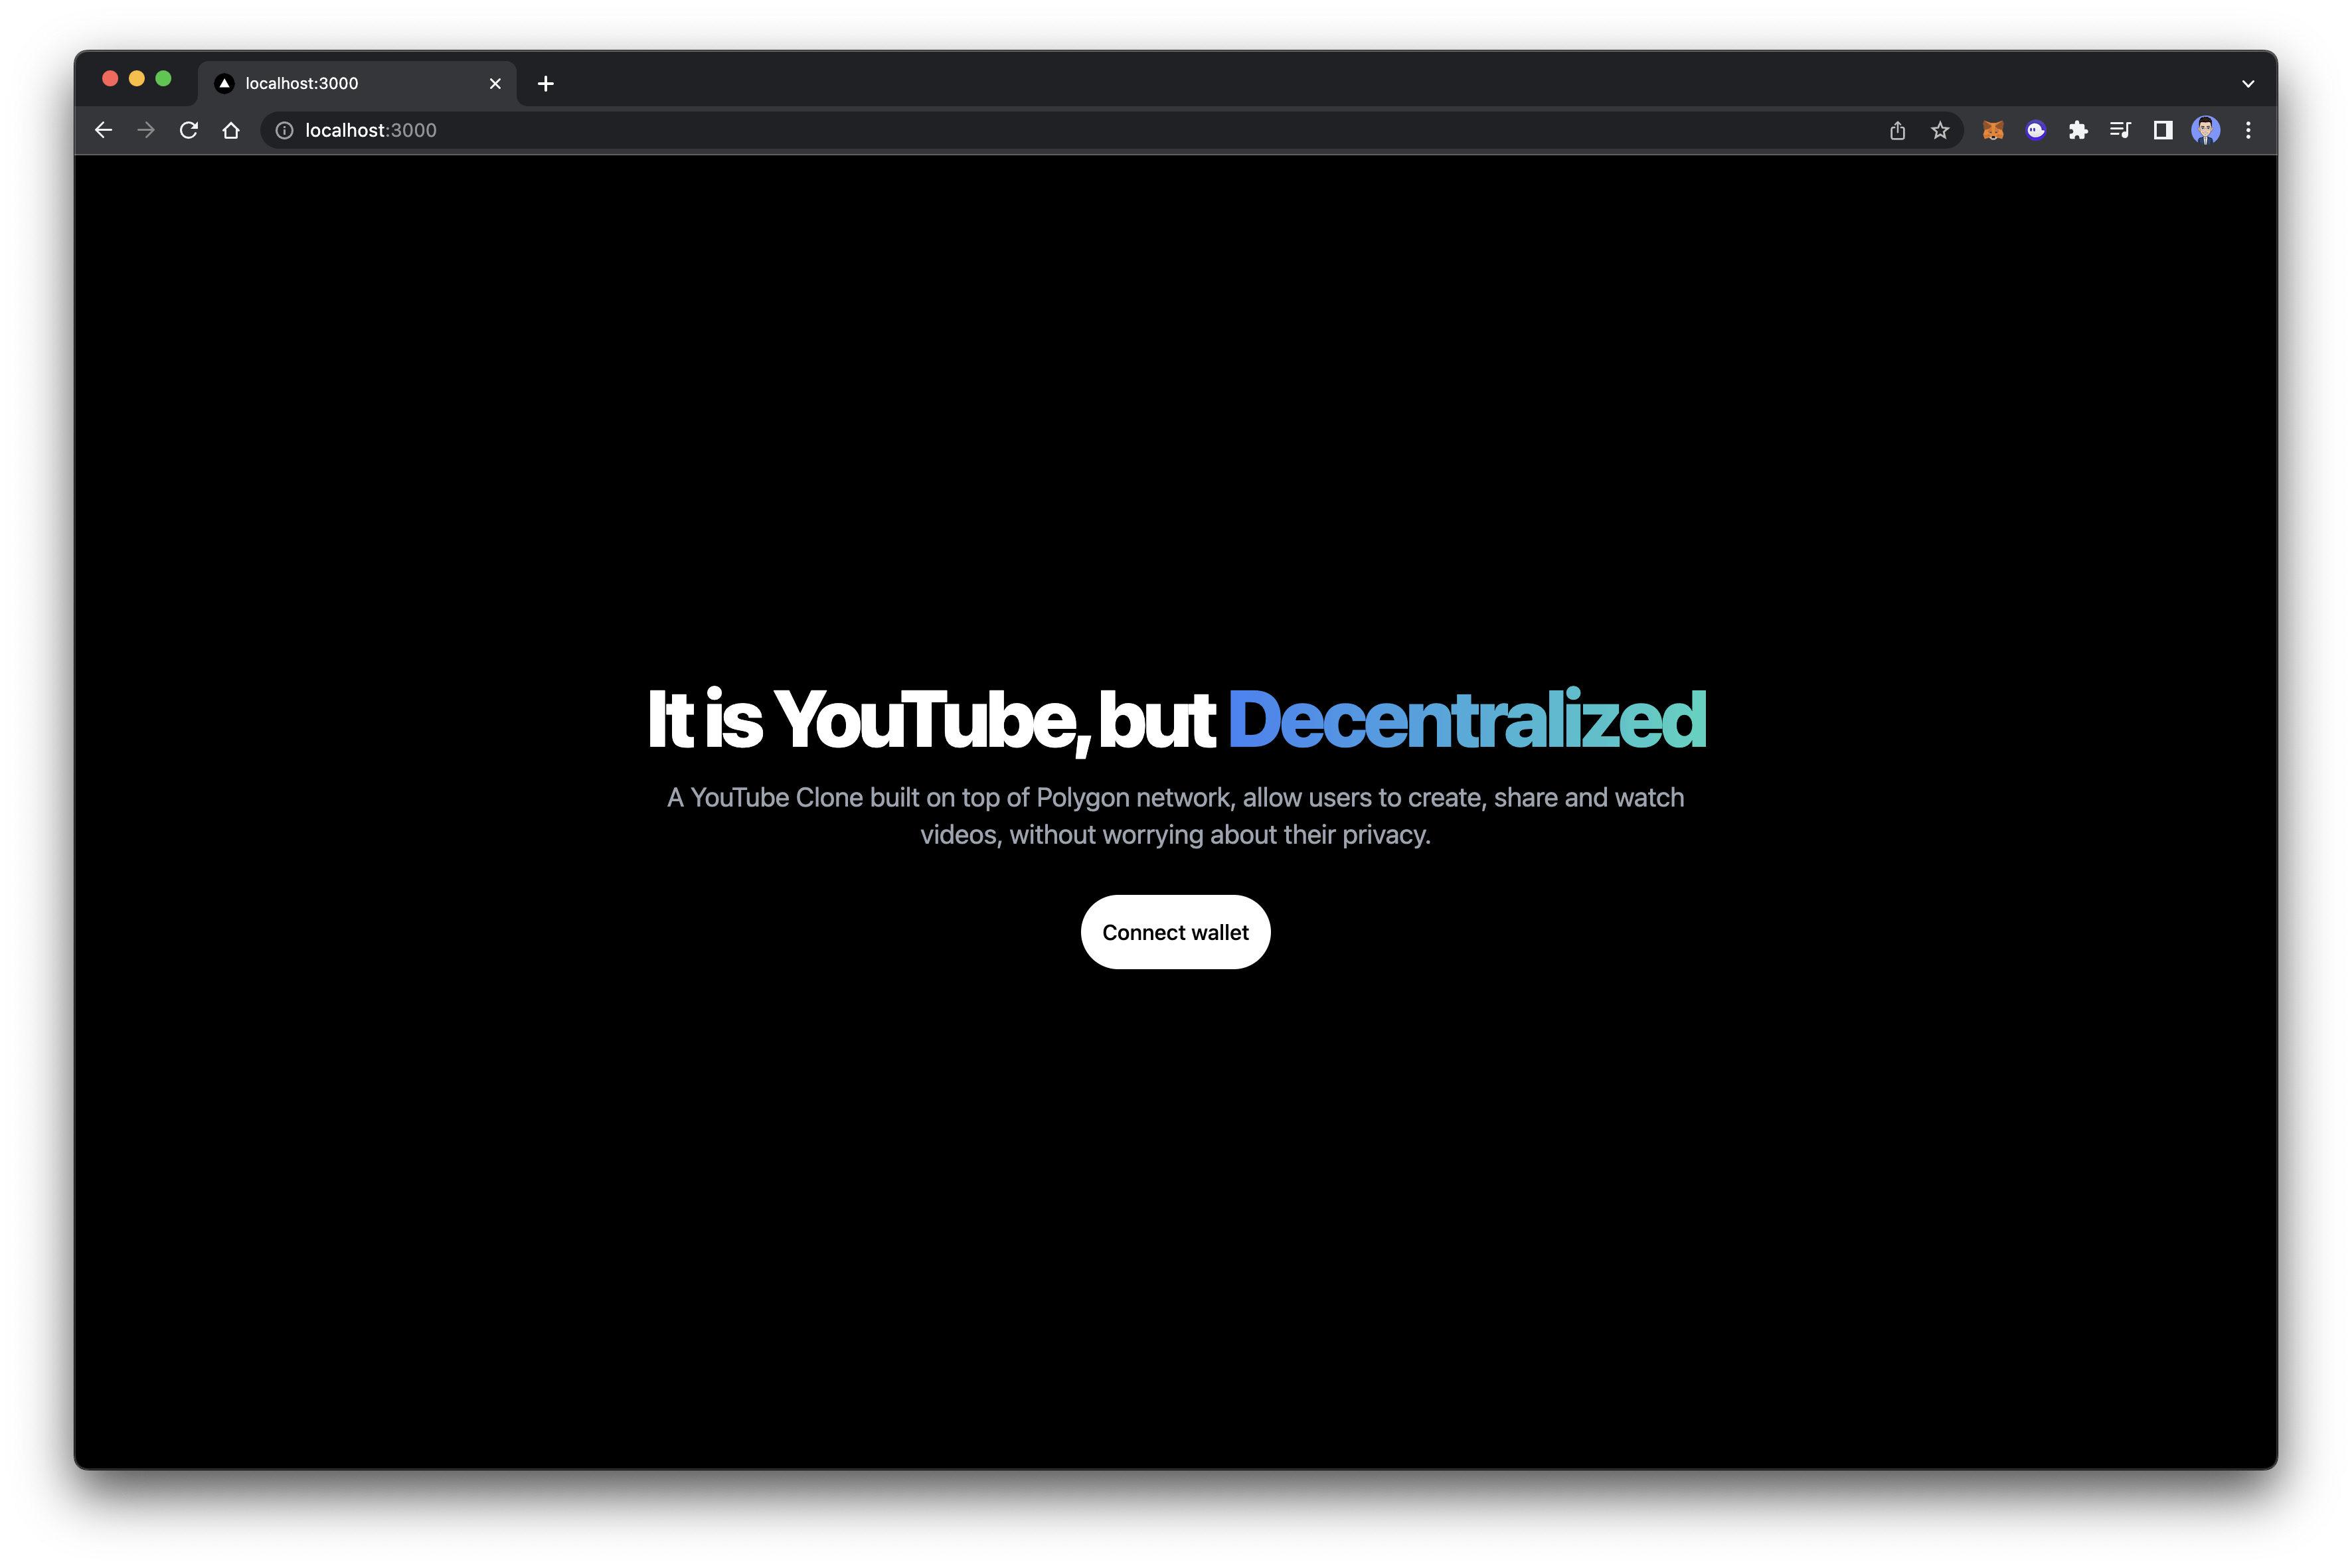
Now that we have completed smart contracts, it is time to work on the front end of the application. Let’s start with the Authentication of the app.Authentication
The first step is to set up authentication in our app that allows users to connect their wallets. Create a new folder namedlanding inside of the pages
folder and create a new file inside of it named index.js. This file will have
the code for the landing page in our application, which will also allow users to
connect their wallets.
Erase everything inside of index.js in the page directory and inside import
the Landing file to the file. Here is what your index.js file should look
like.
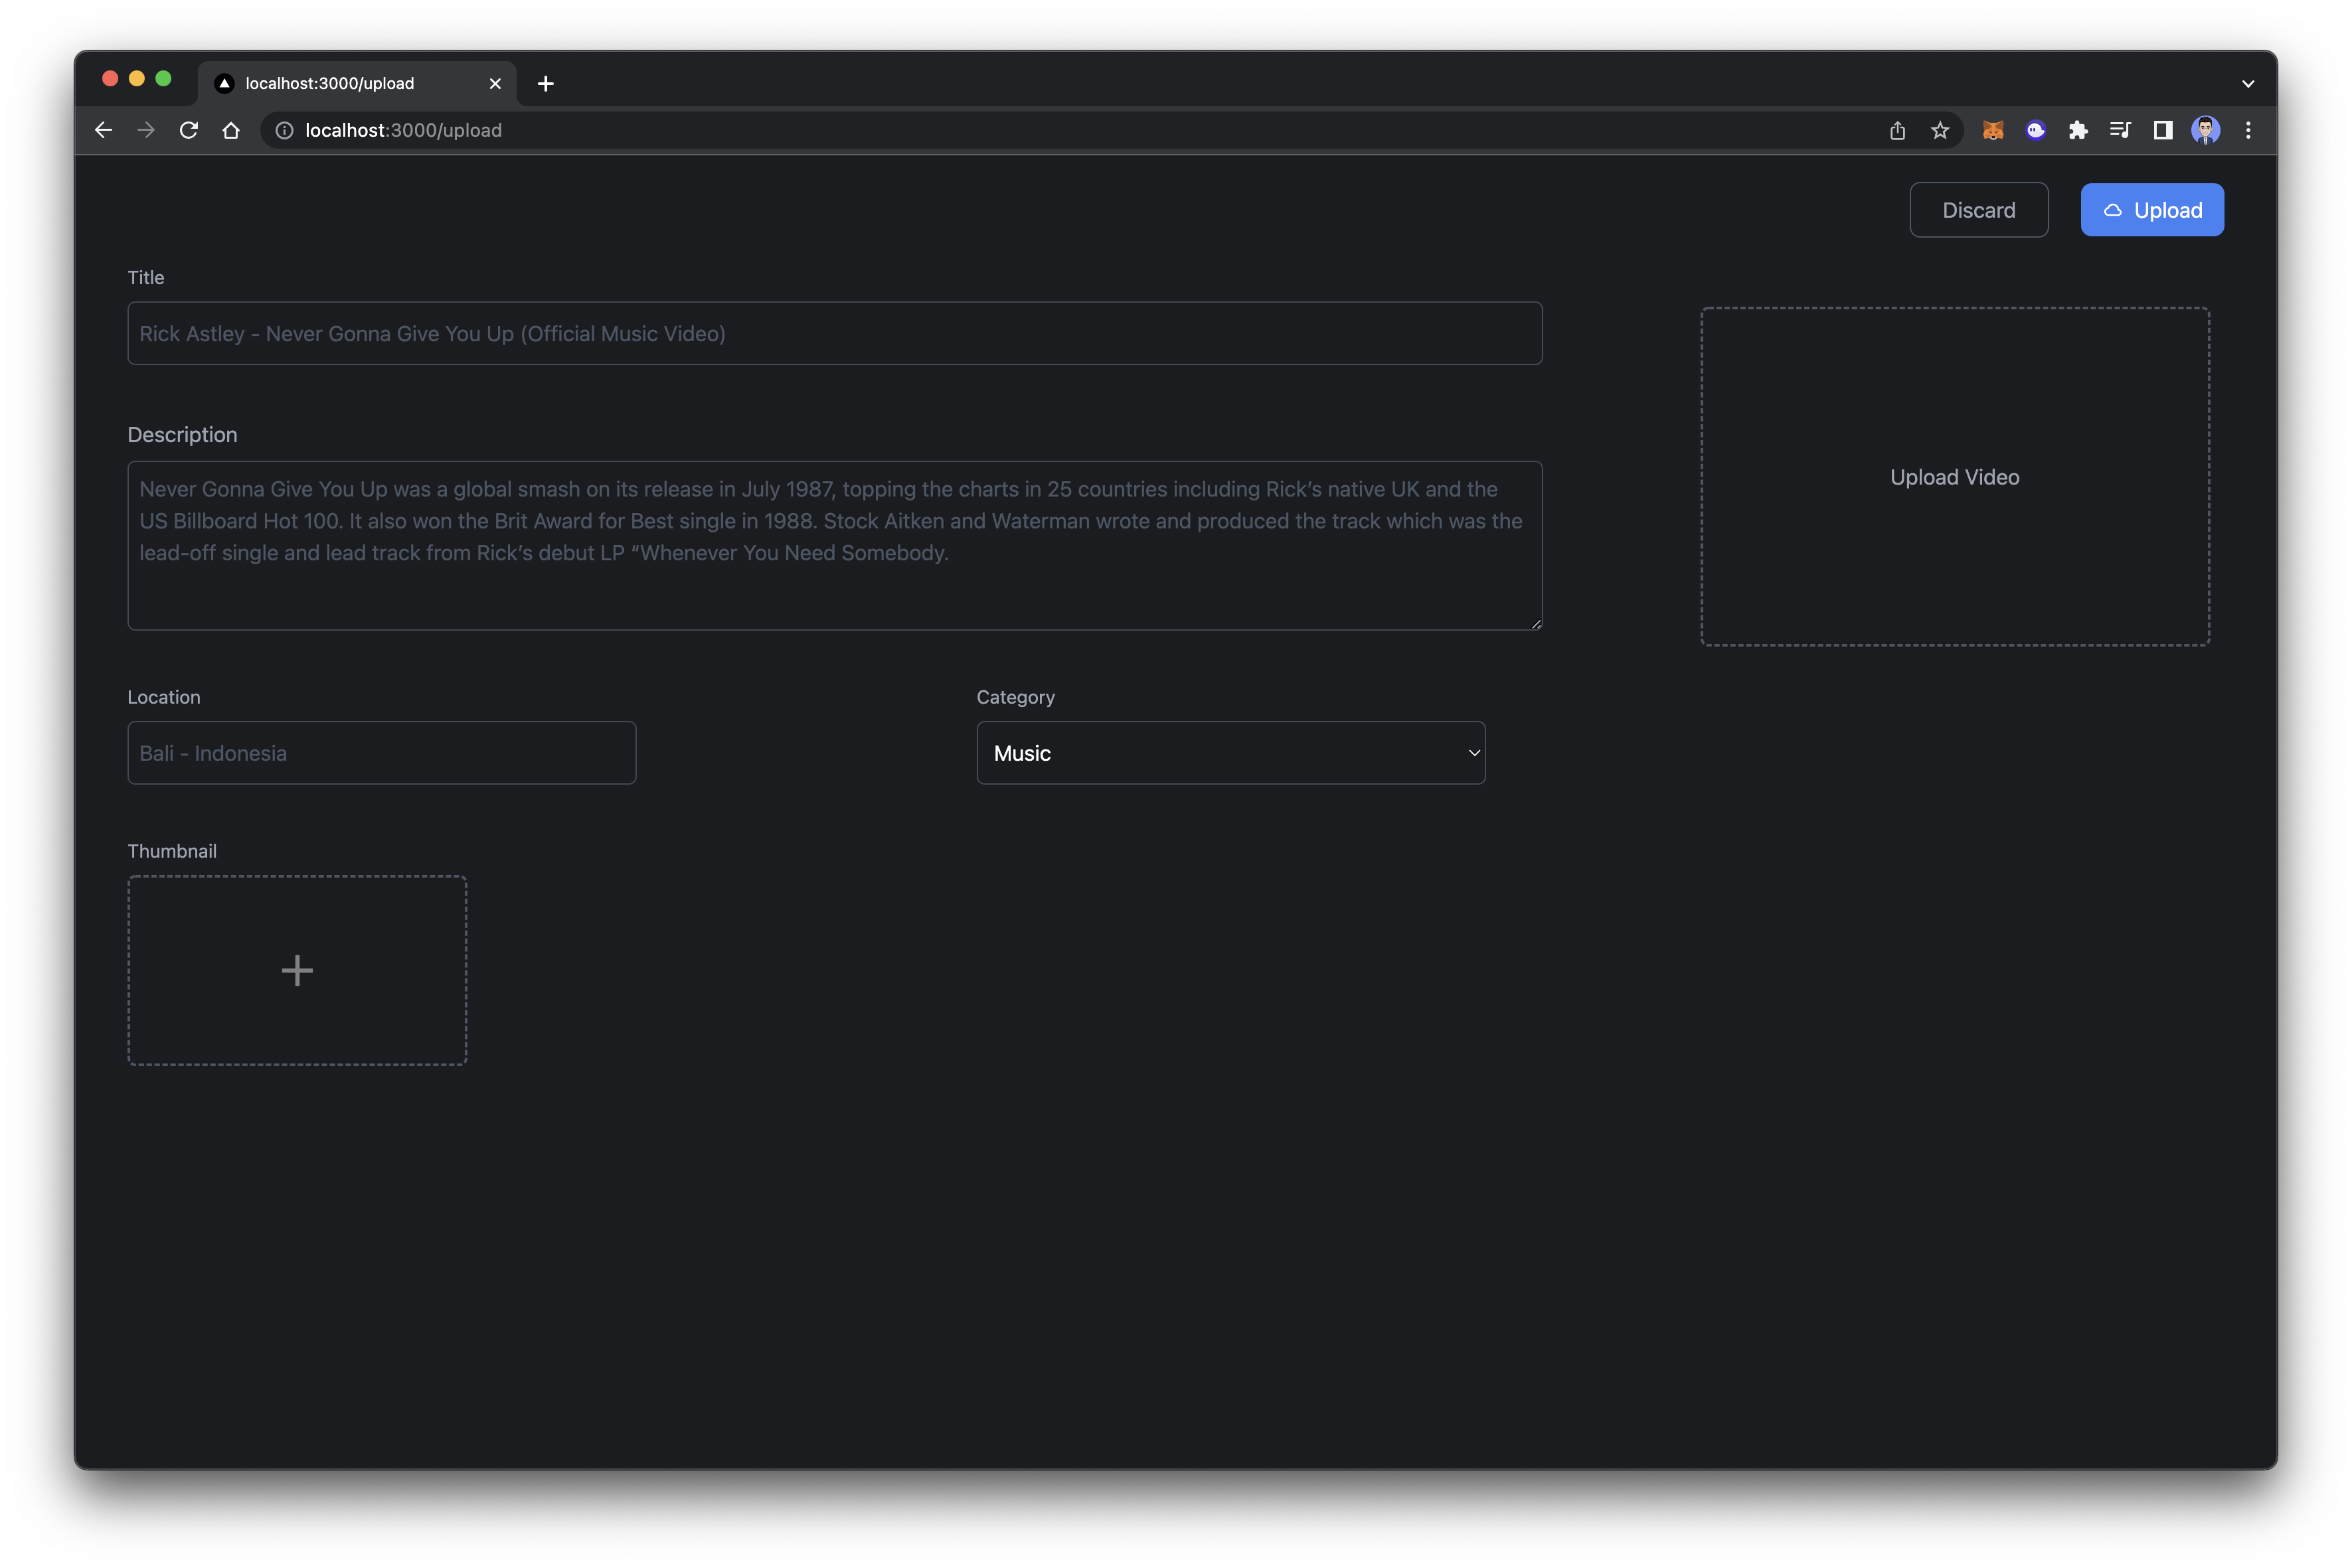
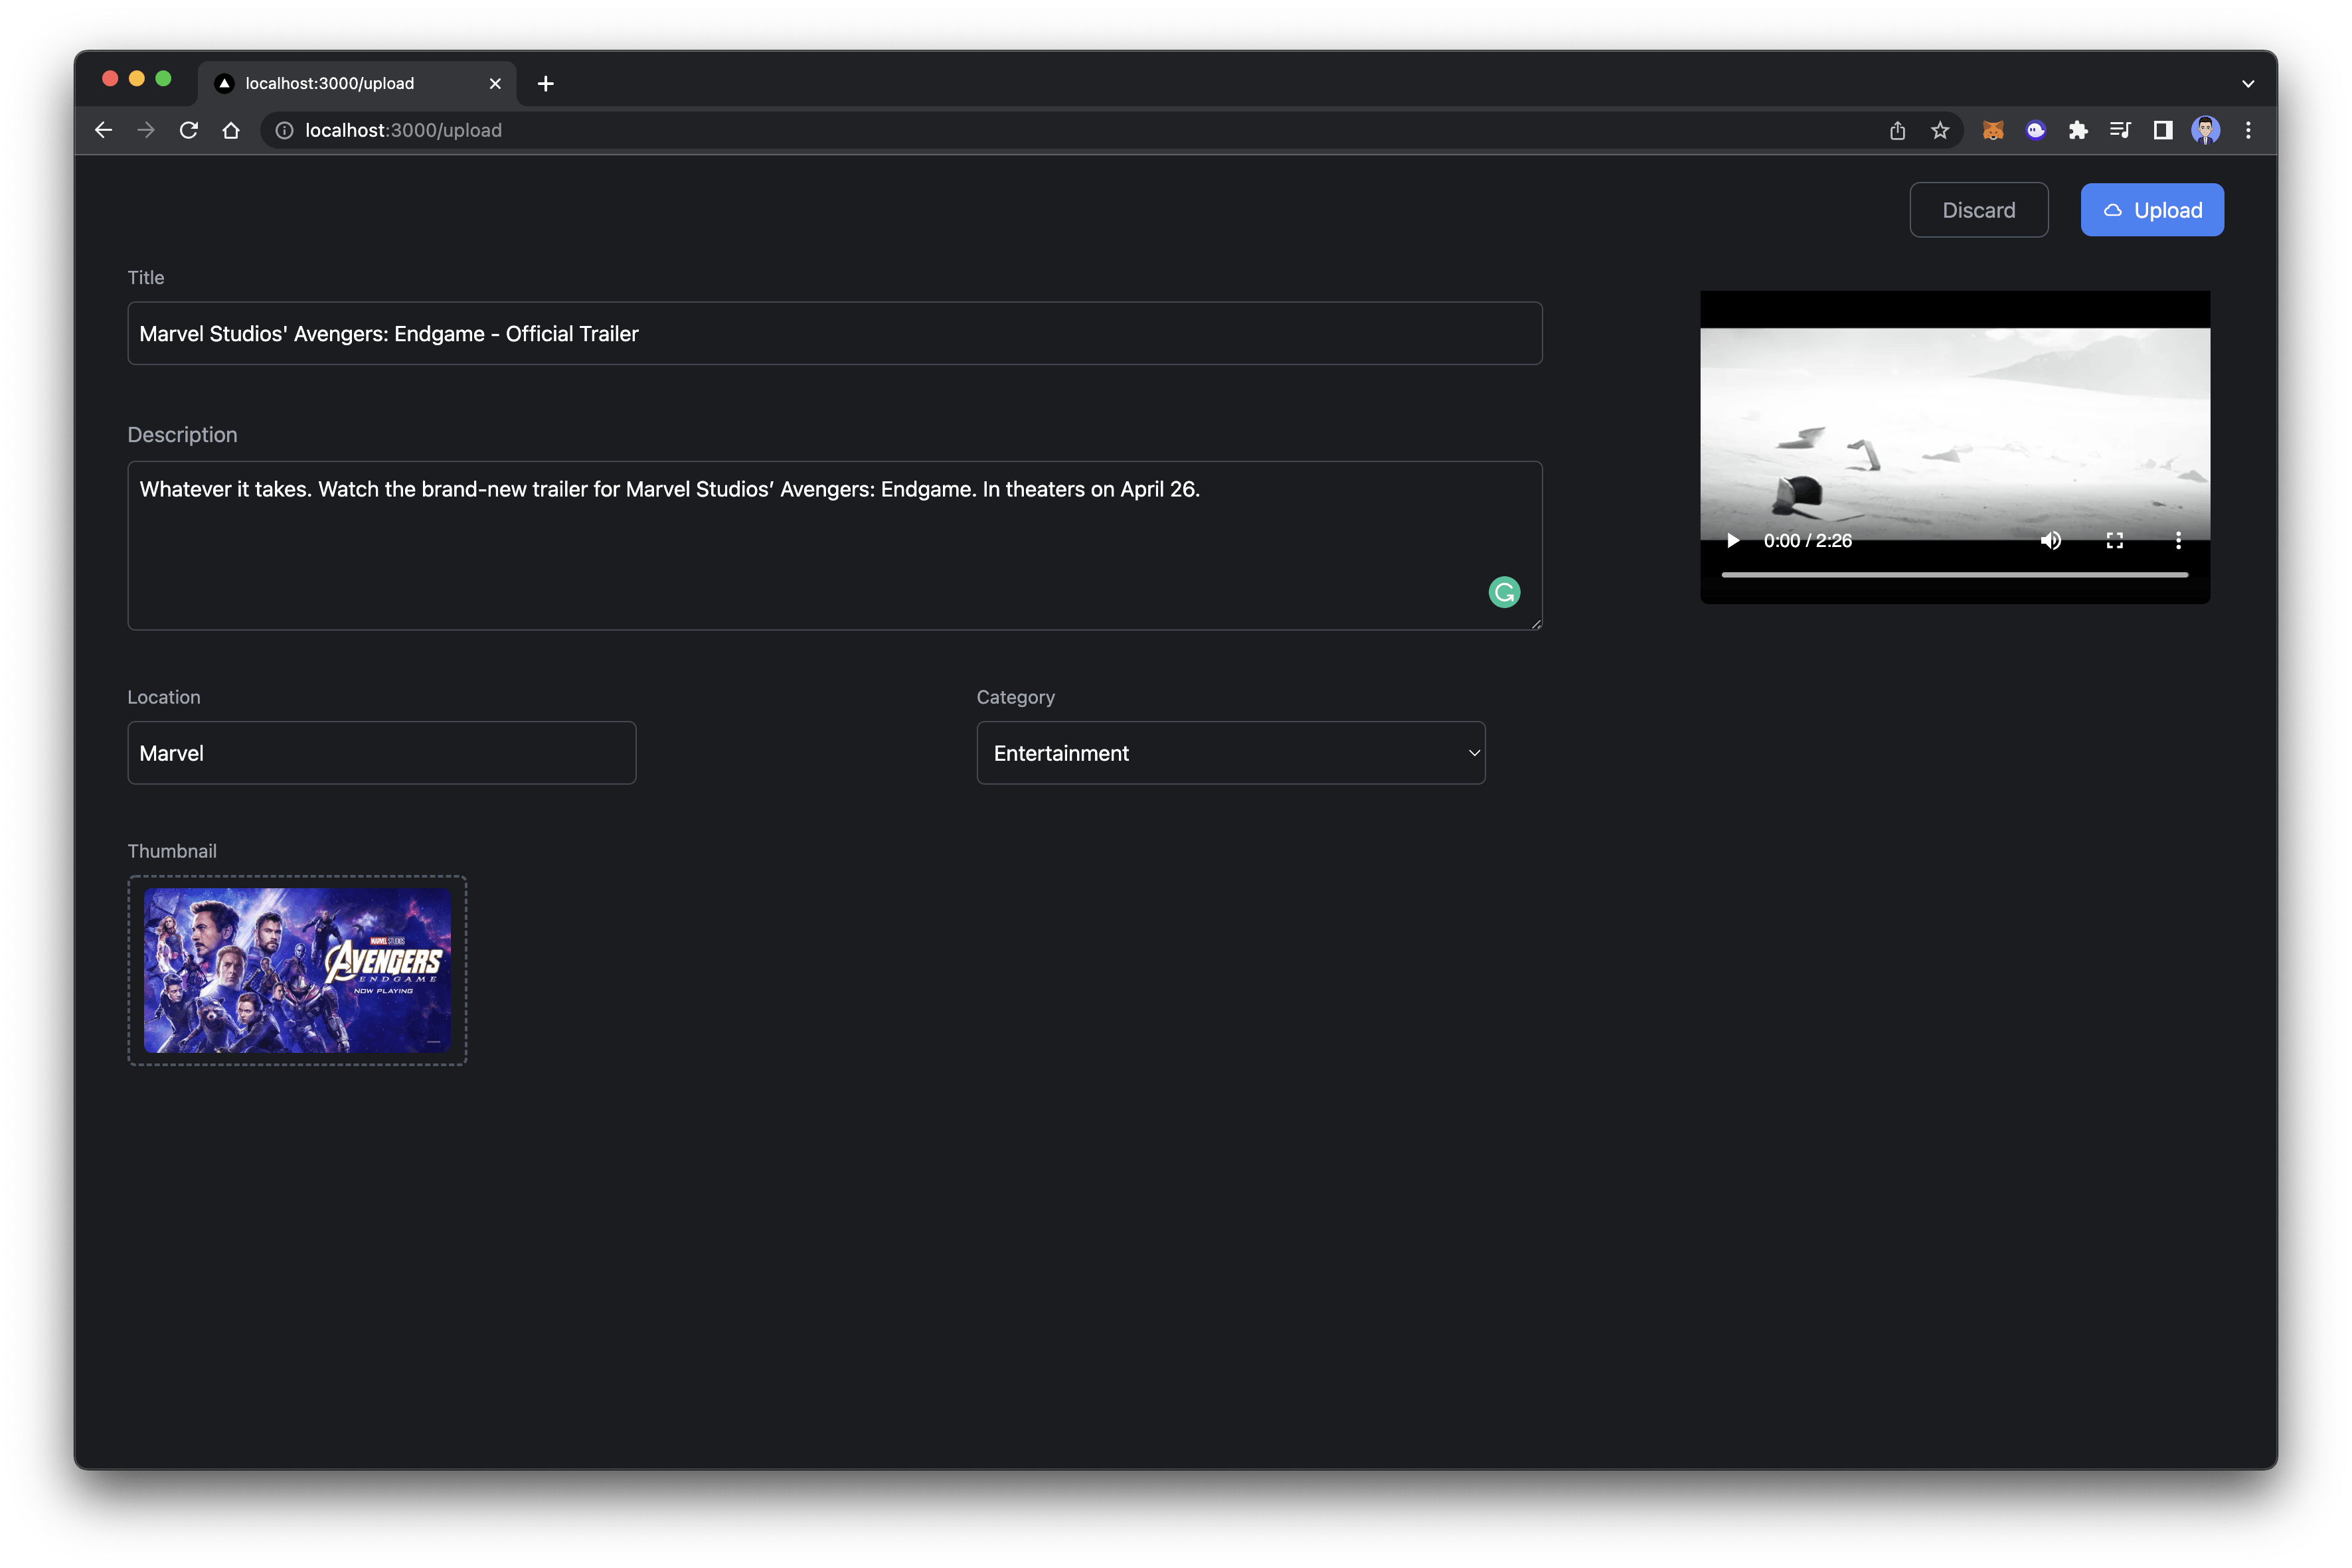
Uploading videos
Now that users are able to connect their wallets, it is time to add upload video functionality to our app. Create a new folder in the pages directory namedupload and add a file named
index.js. Inside the file add the below code.
utils,
and inside of it create a file named getContract. This file will be used to
interact with your contract on the upload page. Add the below code to it and
make sure to replace the contract address and artifacts.
Integrating IPFS (Web3 Storage)
Now we need an IPFS client to upload thumbnails. There are many services that offer IPFS service, but for this tutorial, we will use lighthouse.storage. Create a new account in lighthouse.storage and then navigate to the API Key page. Create a new token and copy the generated token as we will need it later. Next, we need to integrate Livepeer in order to upload the videos and serve them through Livepeer CDN.Integrating Livepeer
Livepeer is a decentralized video processing network and developer platform which you can use to build video applications. It is very fast, easy to integrate, and cheap. In this tutorial, we will be using Livepeer to upload videos and serve it. Navigate to https://livepeer.studio/register and create a new account on Livepeer Studio. Once you have created an account, in the dashboard, click on the Developers on the sidebar. Then, click on Create API Key, give a name to your key and then copy it as we will need it later.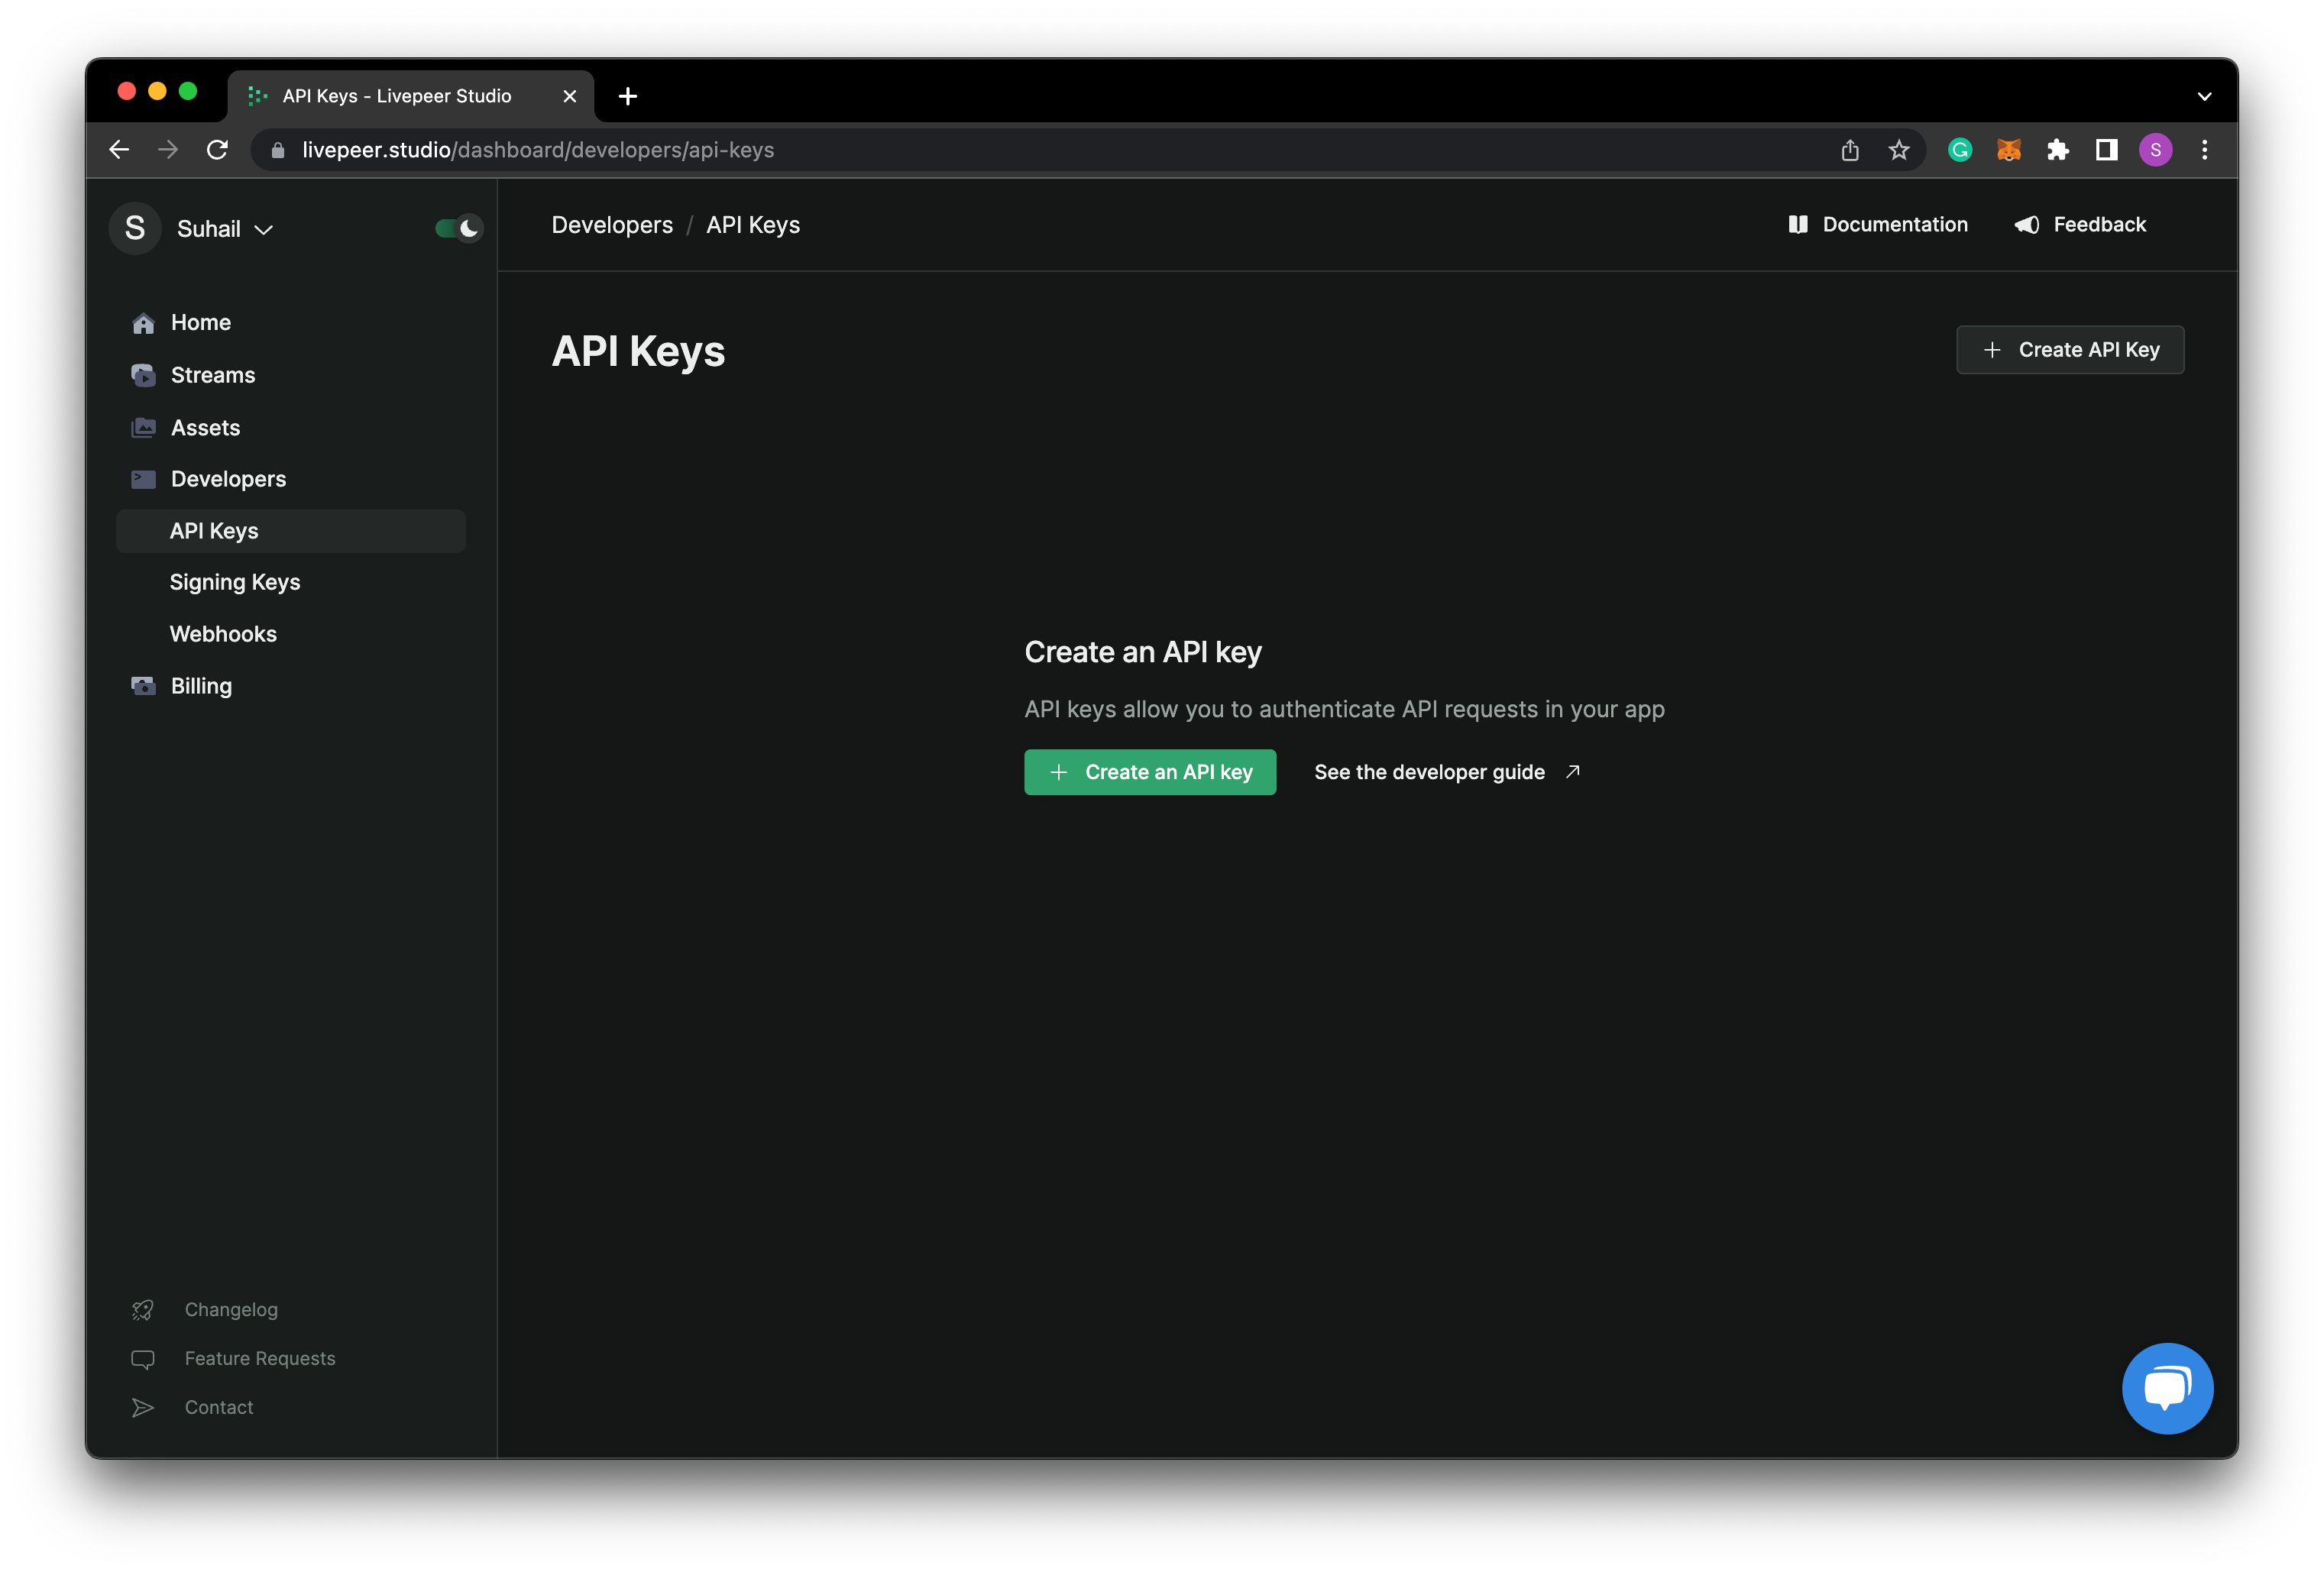
livepeer.js and add the below code to initialize a React client.
YOUR_API_KEY with the key which you just copied from
the Livepeer dashboard. And also replace the code inside of _app.js in the
page directory with the below code.
upload.js.
Fetching videos from Blockchain
Create a new file namedindex.js inside of a new folder named home. And for
now you can add the below code to the file.
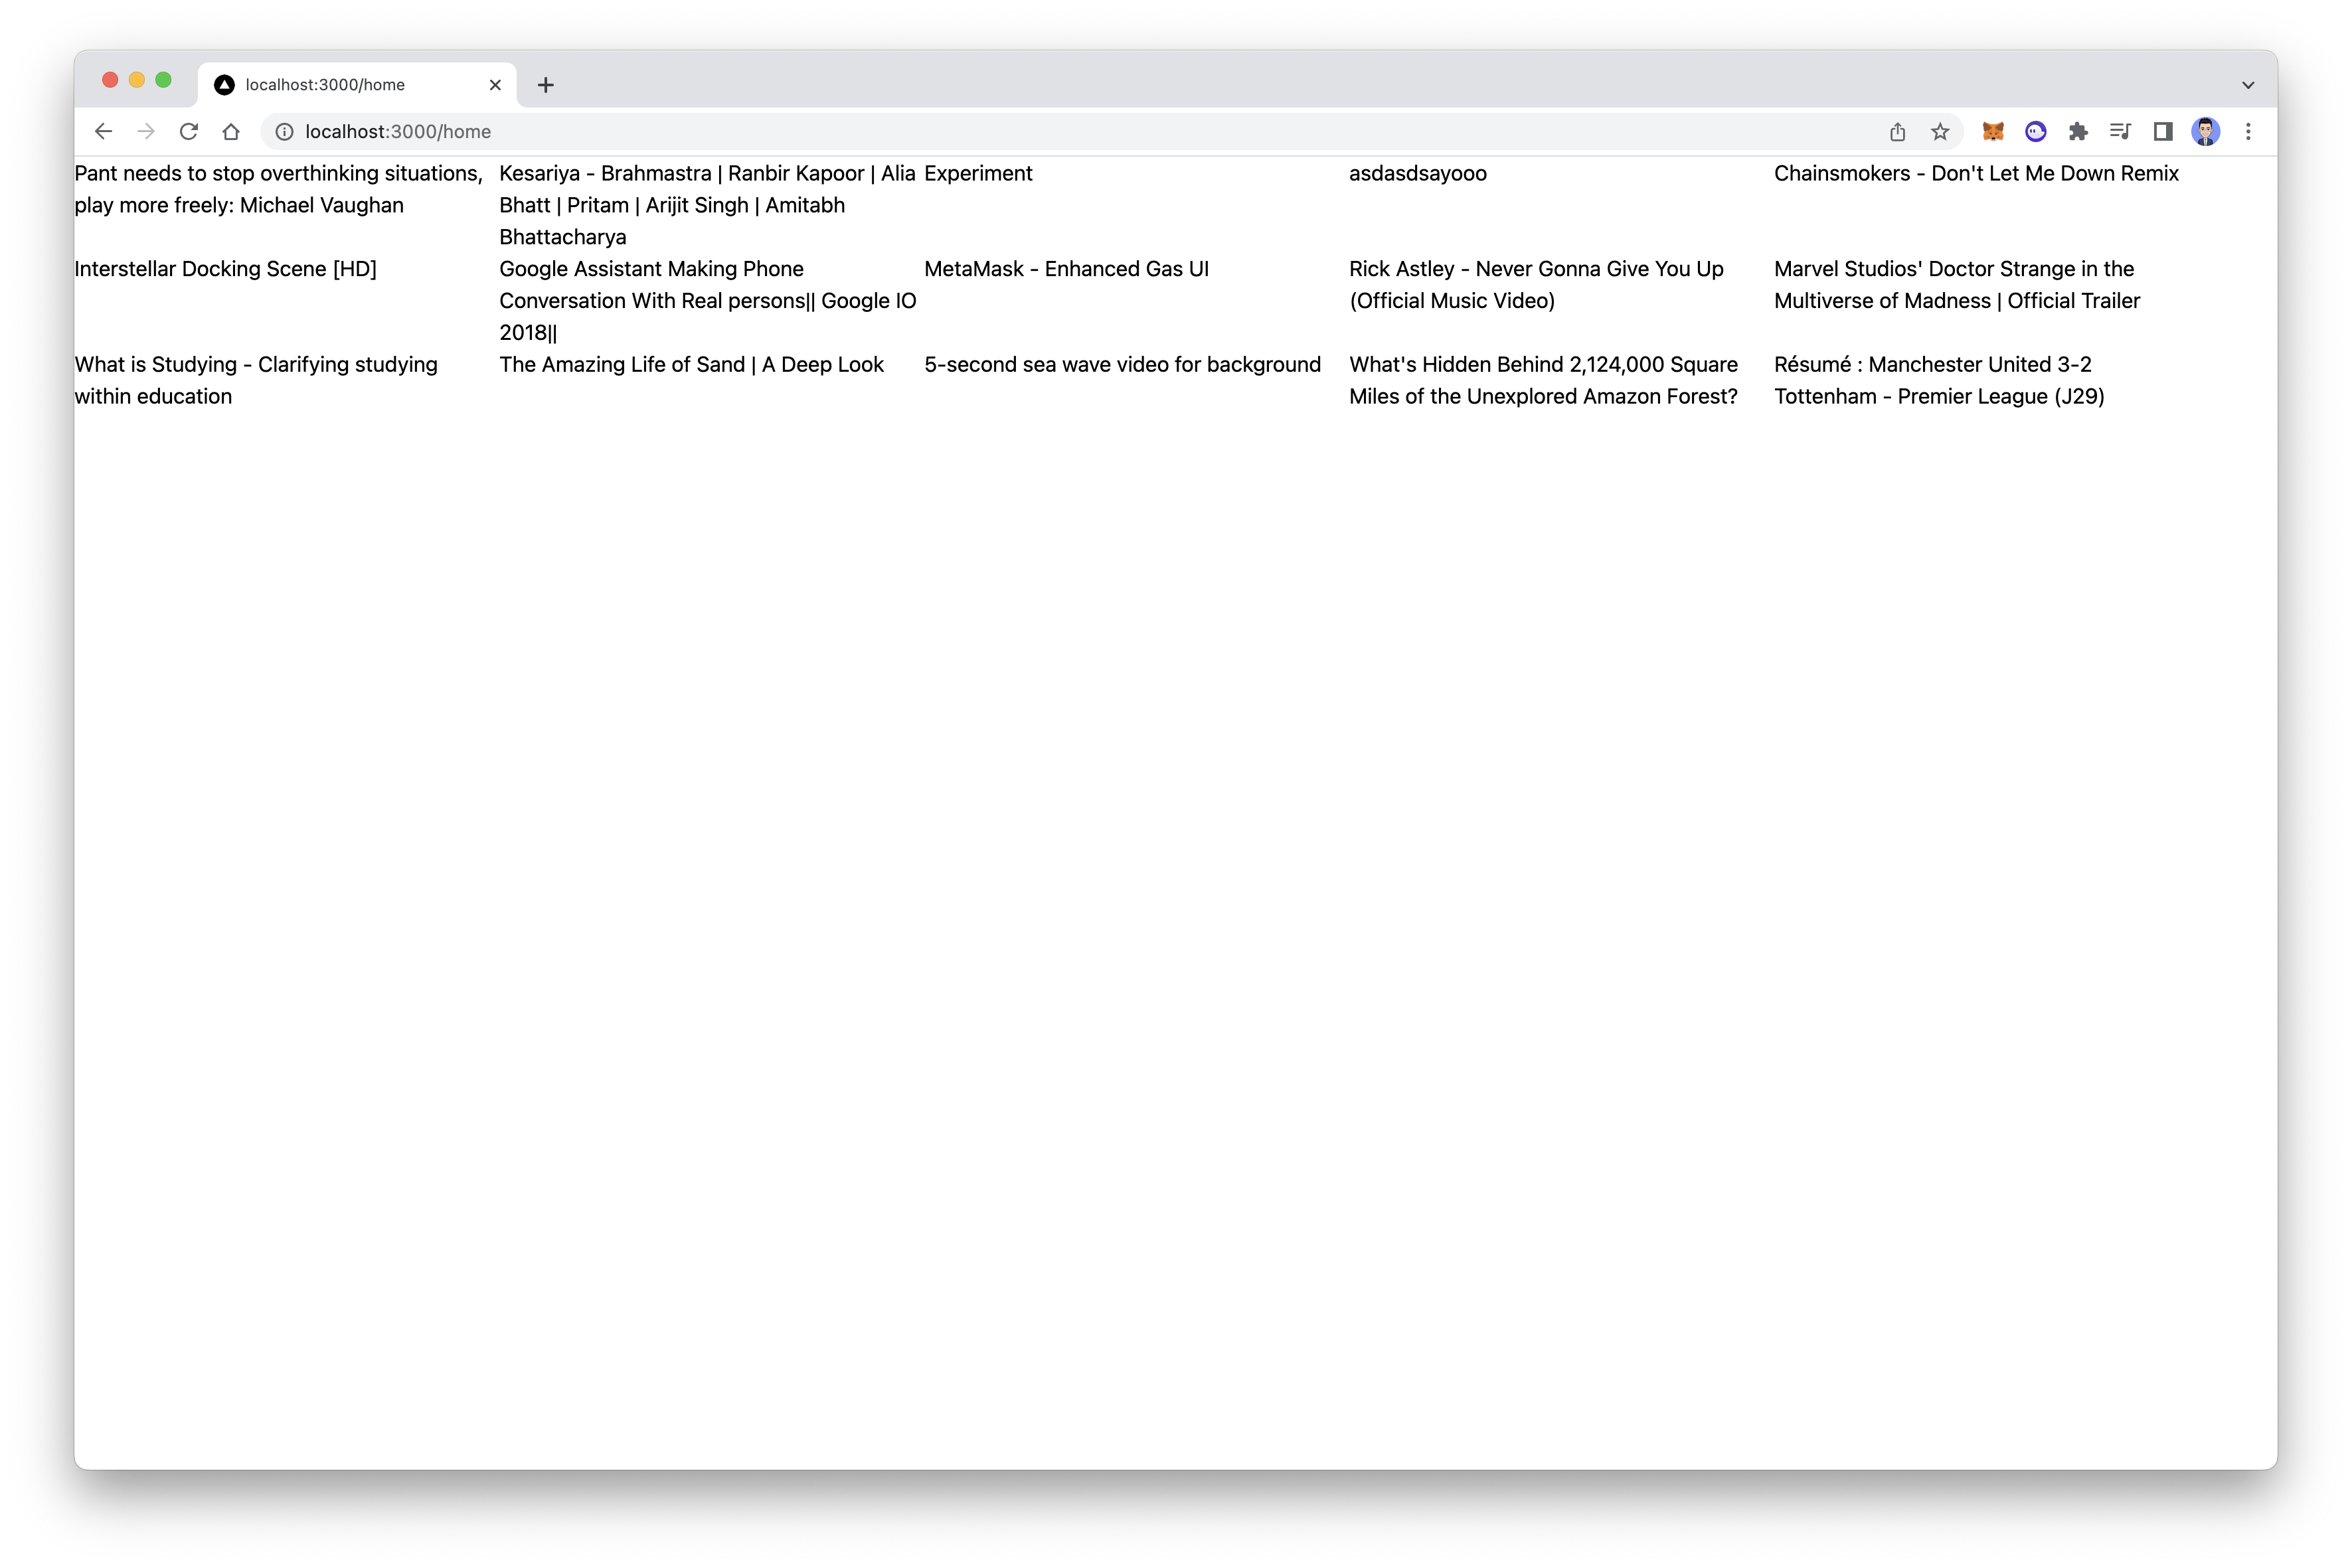
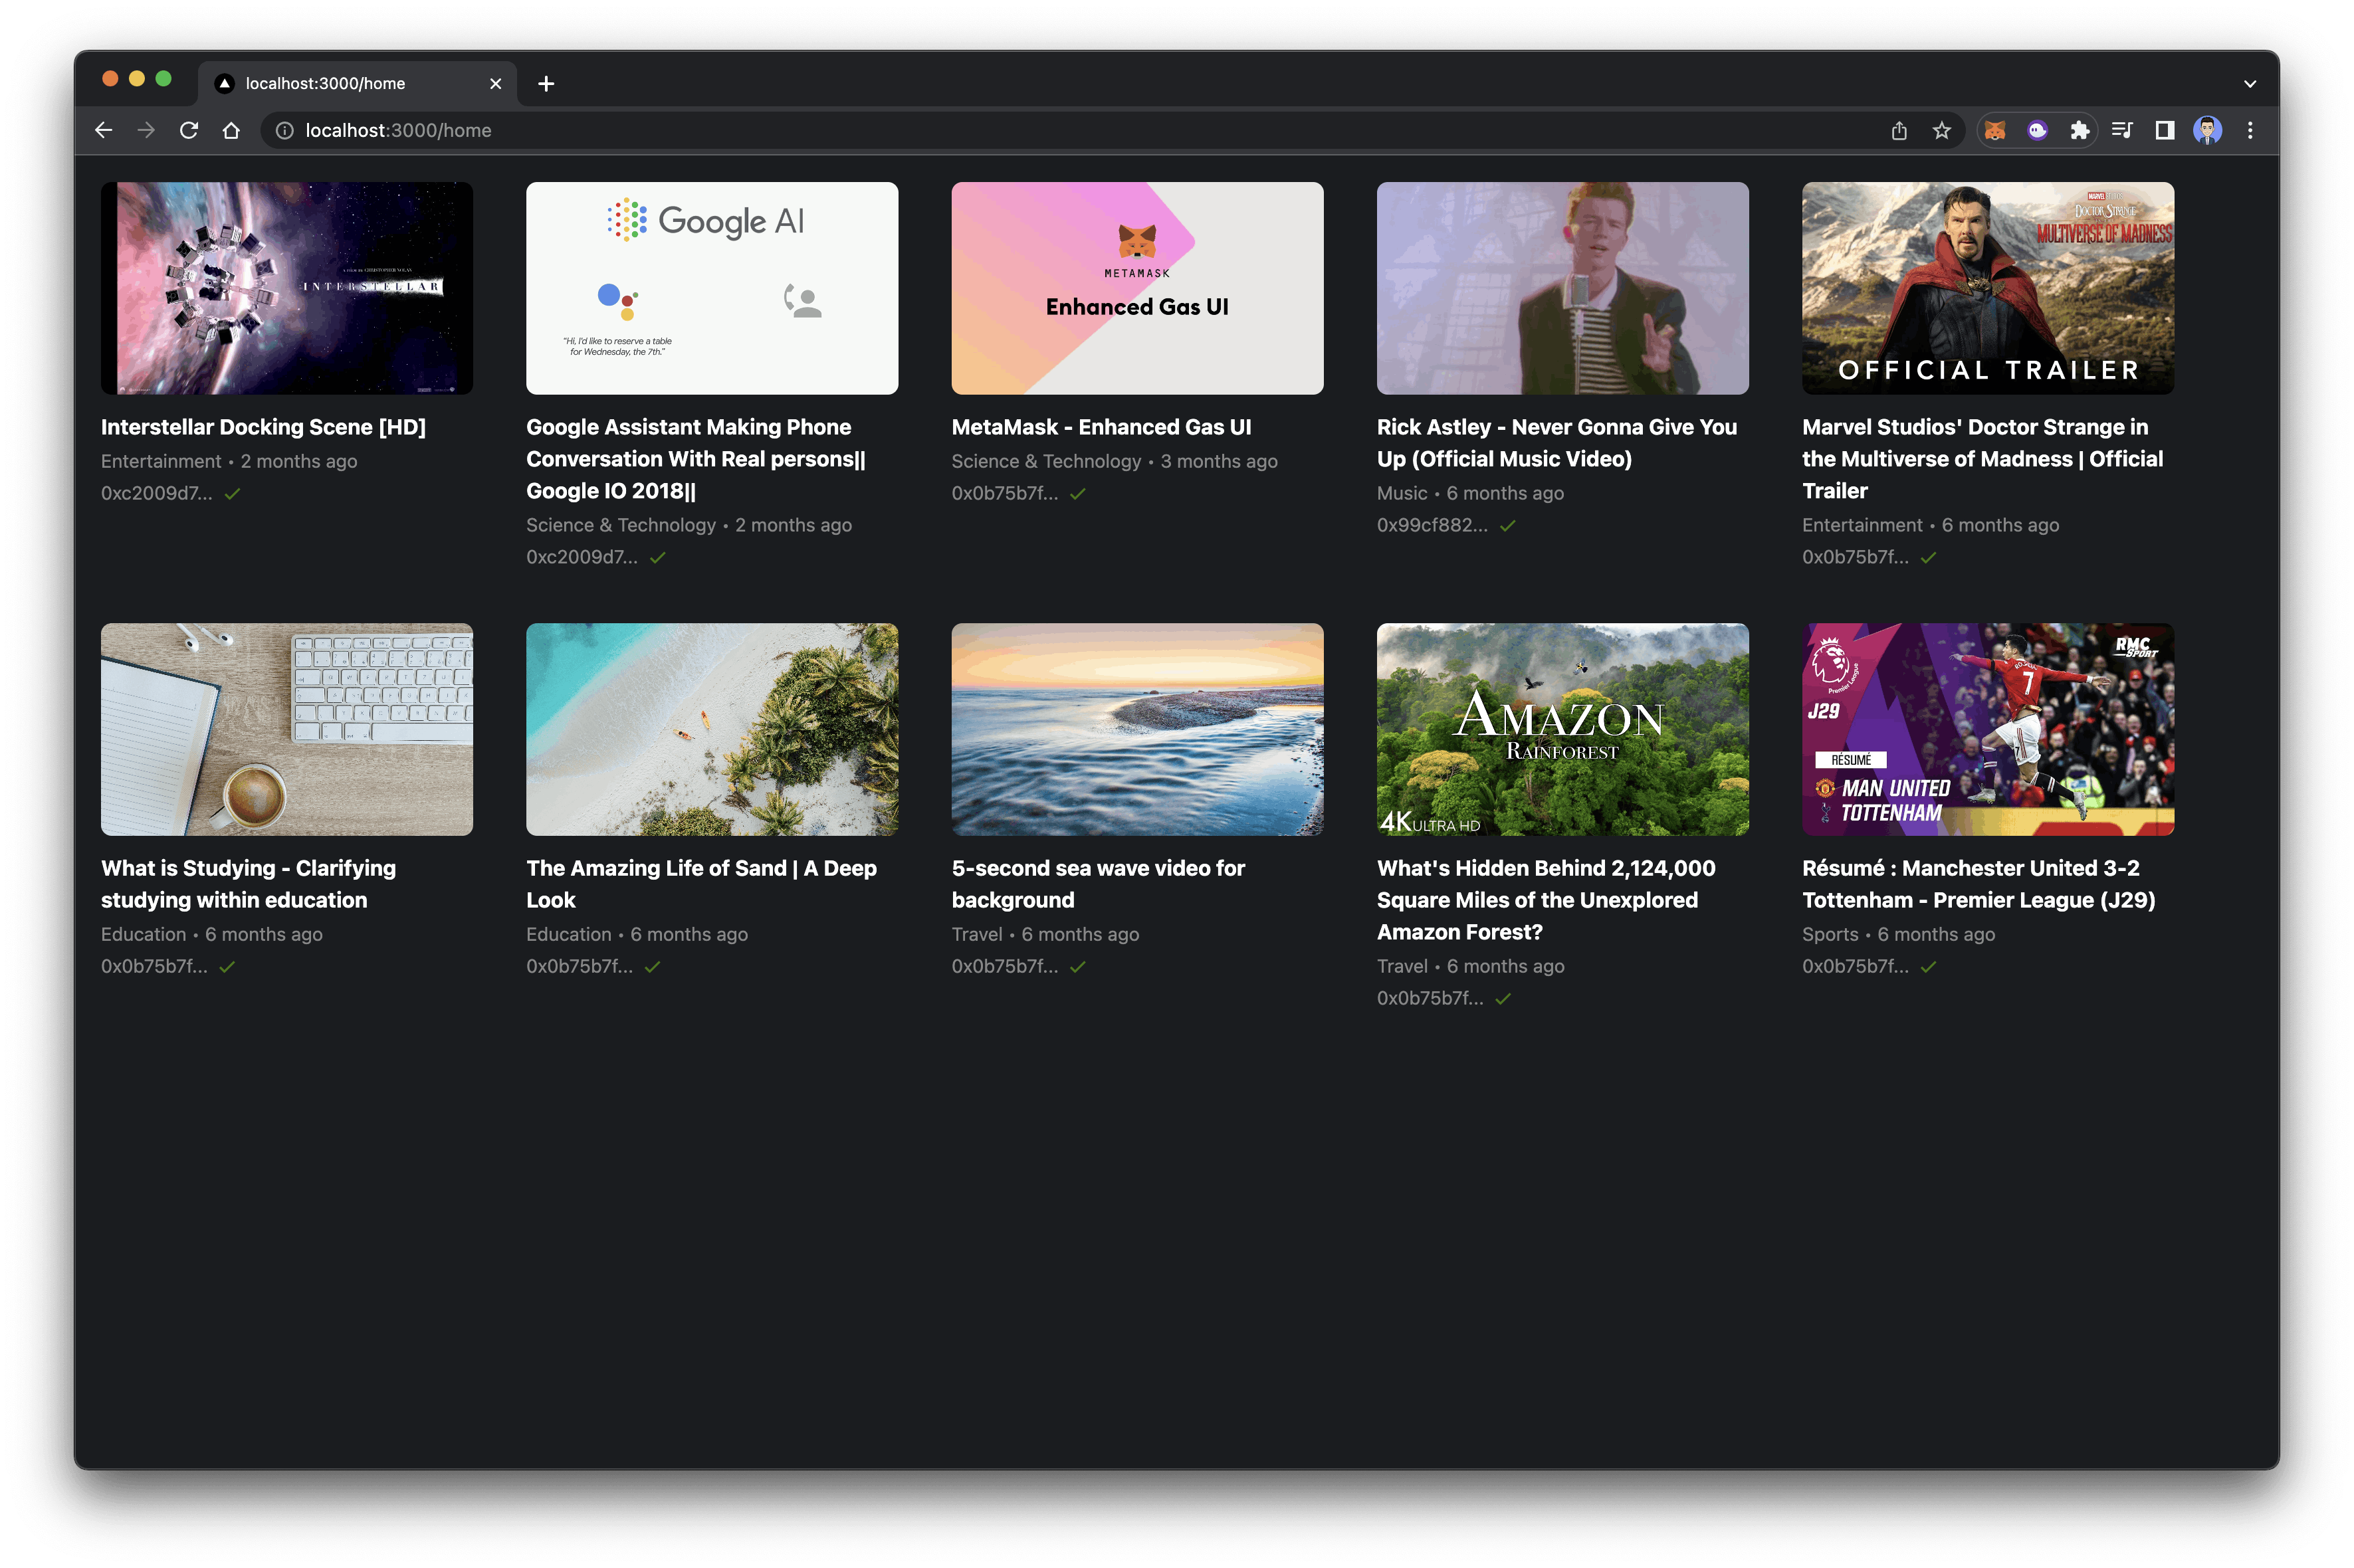
Make sure to upload a few videos so you can see the above outputCreate a folder named
components, and then create a new file named Video.js
inside of it. Add the below code the file. It is a very basic video component.
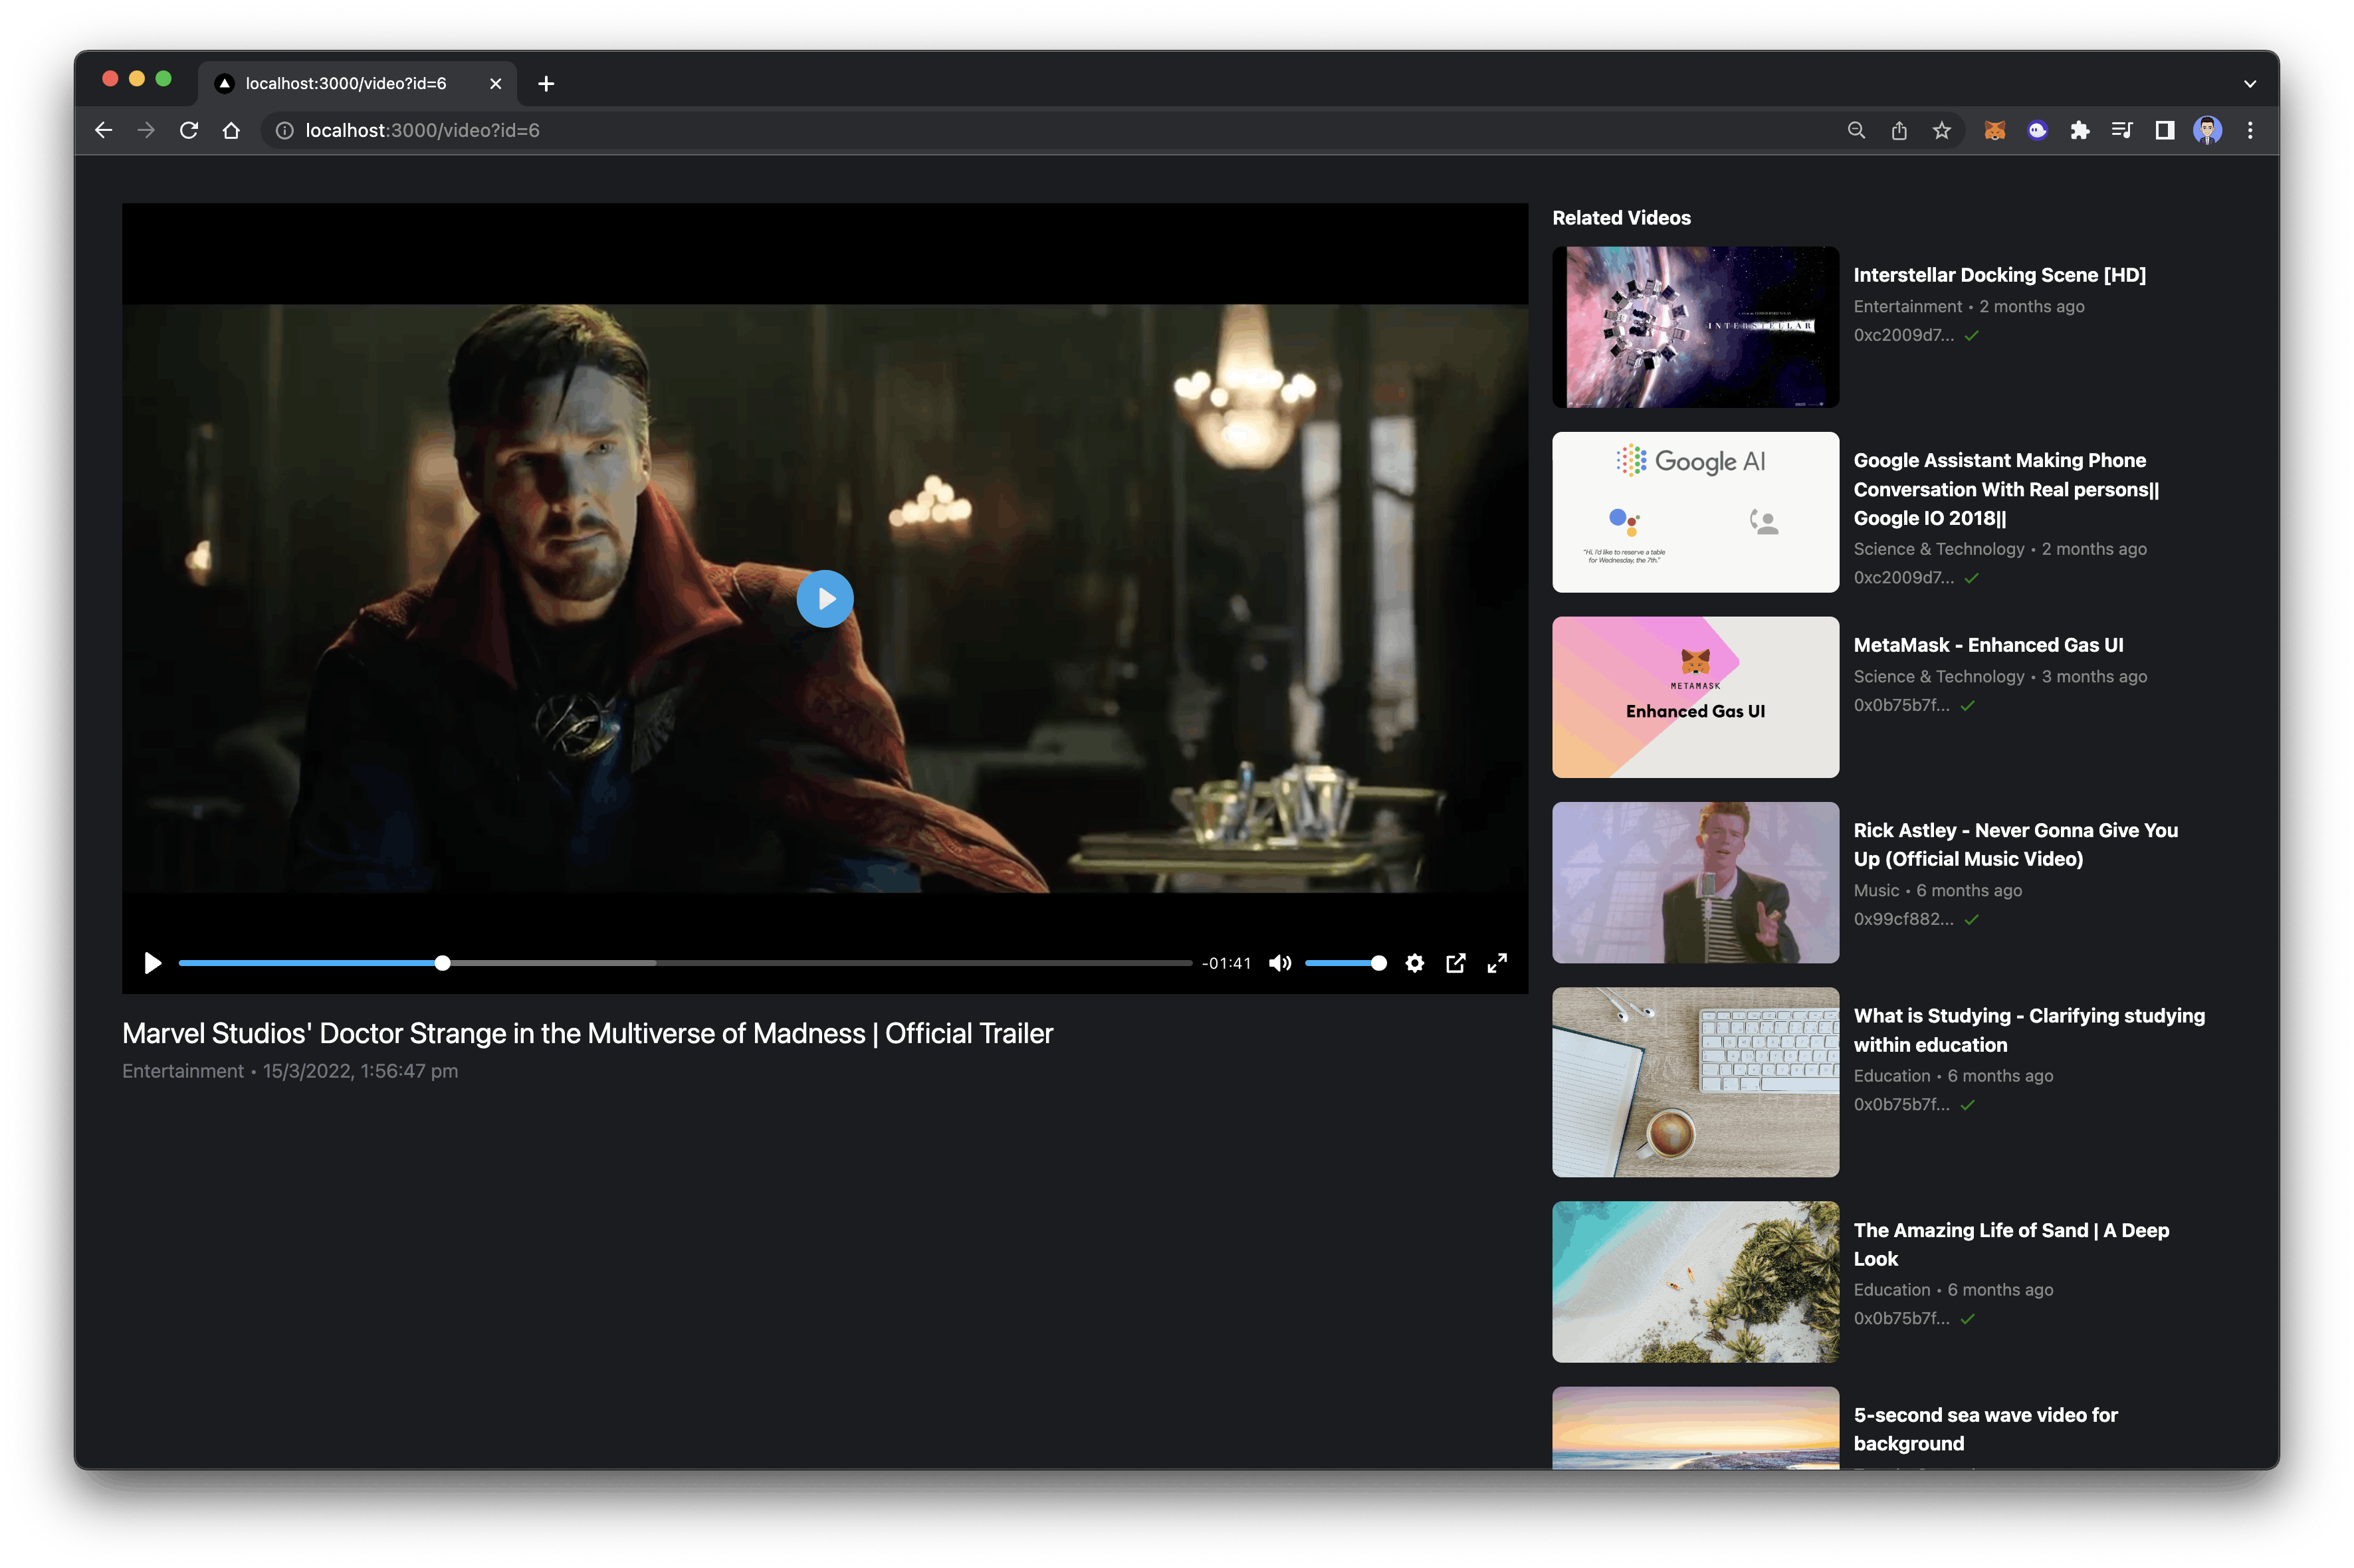
Video page
Now that we are able to fetch the videos on the home screen. Let’s work on the video page where the user will be redirected if they click on any video component. Create a new file in the components folder namedPlayer and add the below code
to it. We are using Livepeer player to create a video player component.
VideoContainer. Imagine this
component as the left side of the youtube video page, which contains a player,
video title, upload date, and description. Add the below code to the file.
pages directory and
create a new file index.js of it. For now, you can add the following code to
the file.