Prerequisites
Before you start with this tutorial, make sure you have the following tools installed on your machine:- Node.js v16 or later
Setting up Next.js App
First, let”s create a directory for your project and initialize a Next.js app using the following command in your terminal:@livepeer/react, library which we will use to
integrate Livepeer:
Adding TailwindCSS
Tailwind CSS is a utility-first CSS framework that enables you to rapidly build user interfaces. We will use it to style our app. First, we need to install thetailwindcss, postcss, and autoprefixerdependencies. These dependencies are
necessary for TailwindCSS to work properly in a Next.js app.
Run the following command to install them:
tailwind.config.js and
postcss.config.js. These files contain the configuration for Tailwind CSS and
PostCSS, respectively. Next, open the tailwind.config.js file in code editor
of your choice and replace its contents with the following code:
./styles/globals.css
file.
pages/index.js file, with below code.
npm run dev to start the next.js app.
Integrating Livepeer
Livepeer is a decentralized video platform that allows users to upload, transcode, and serve video content. The Livepeer React SDK provides a set of ready-to-use hooks that make it easy to integrate Livepeer into a project. To get started, navigate to https://livepeer.studio/register and create a new account on Livepeer Studio. This will give you access to your Livepeer dashboard, where you can manage your account and access your API keys. Once you have created an account, in the dashboard, click on the Developers on the sidebar.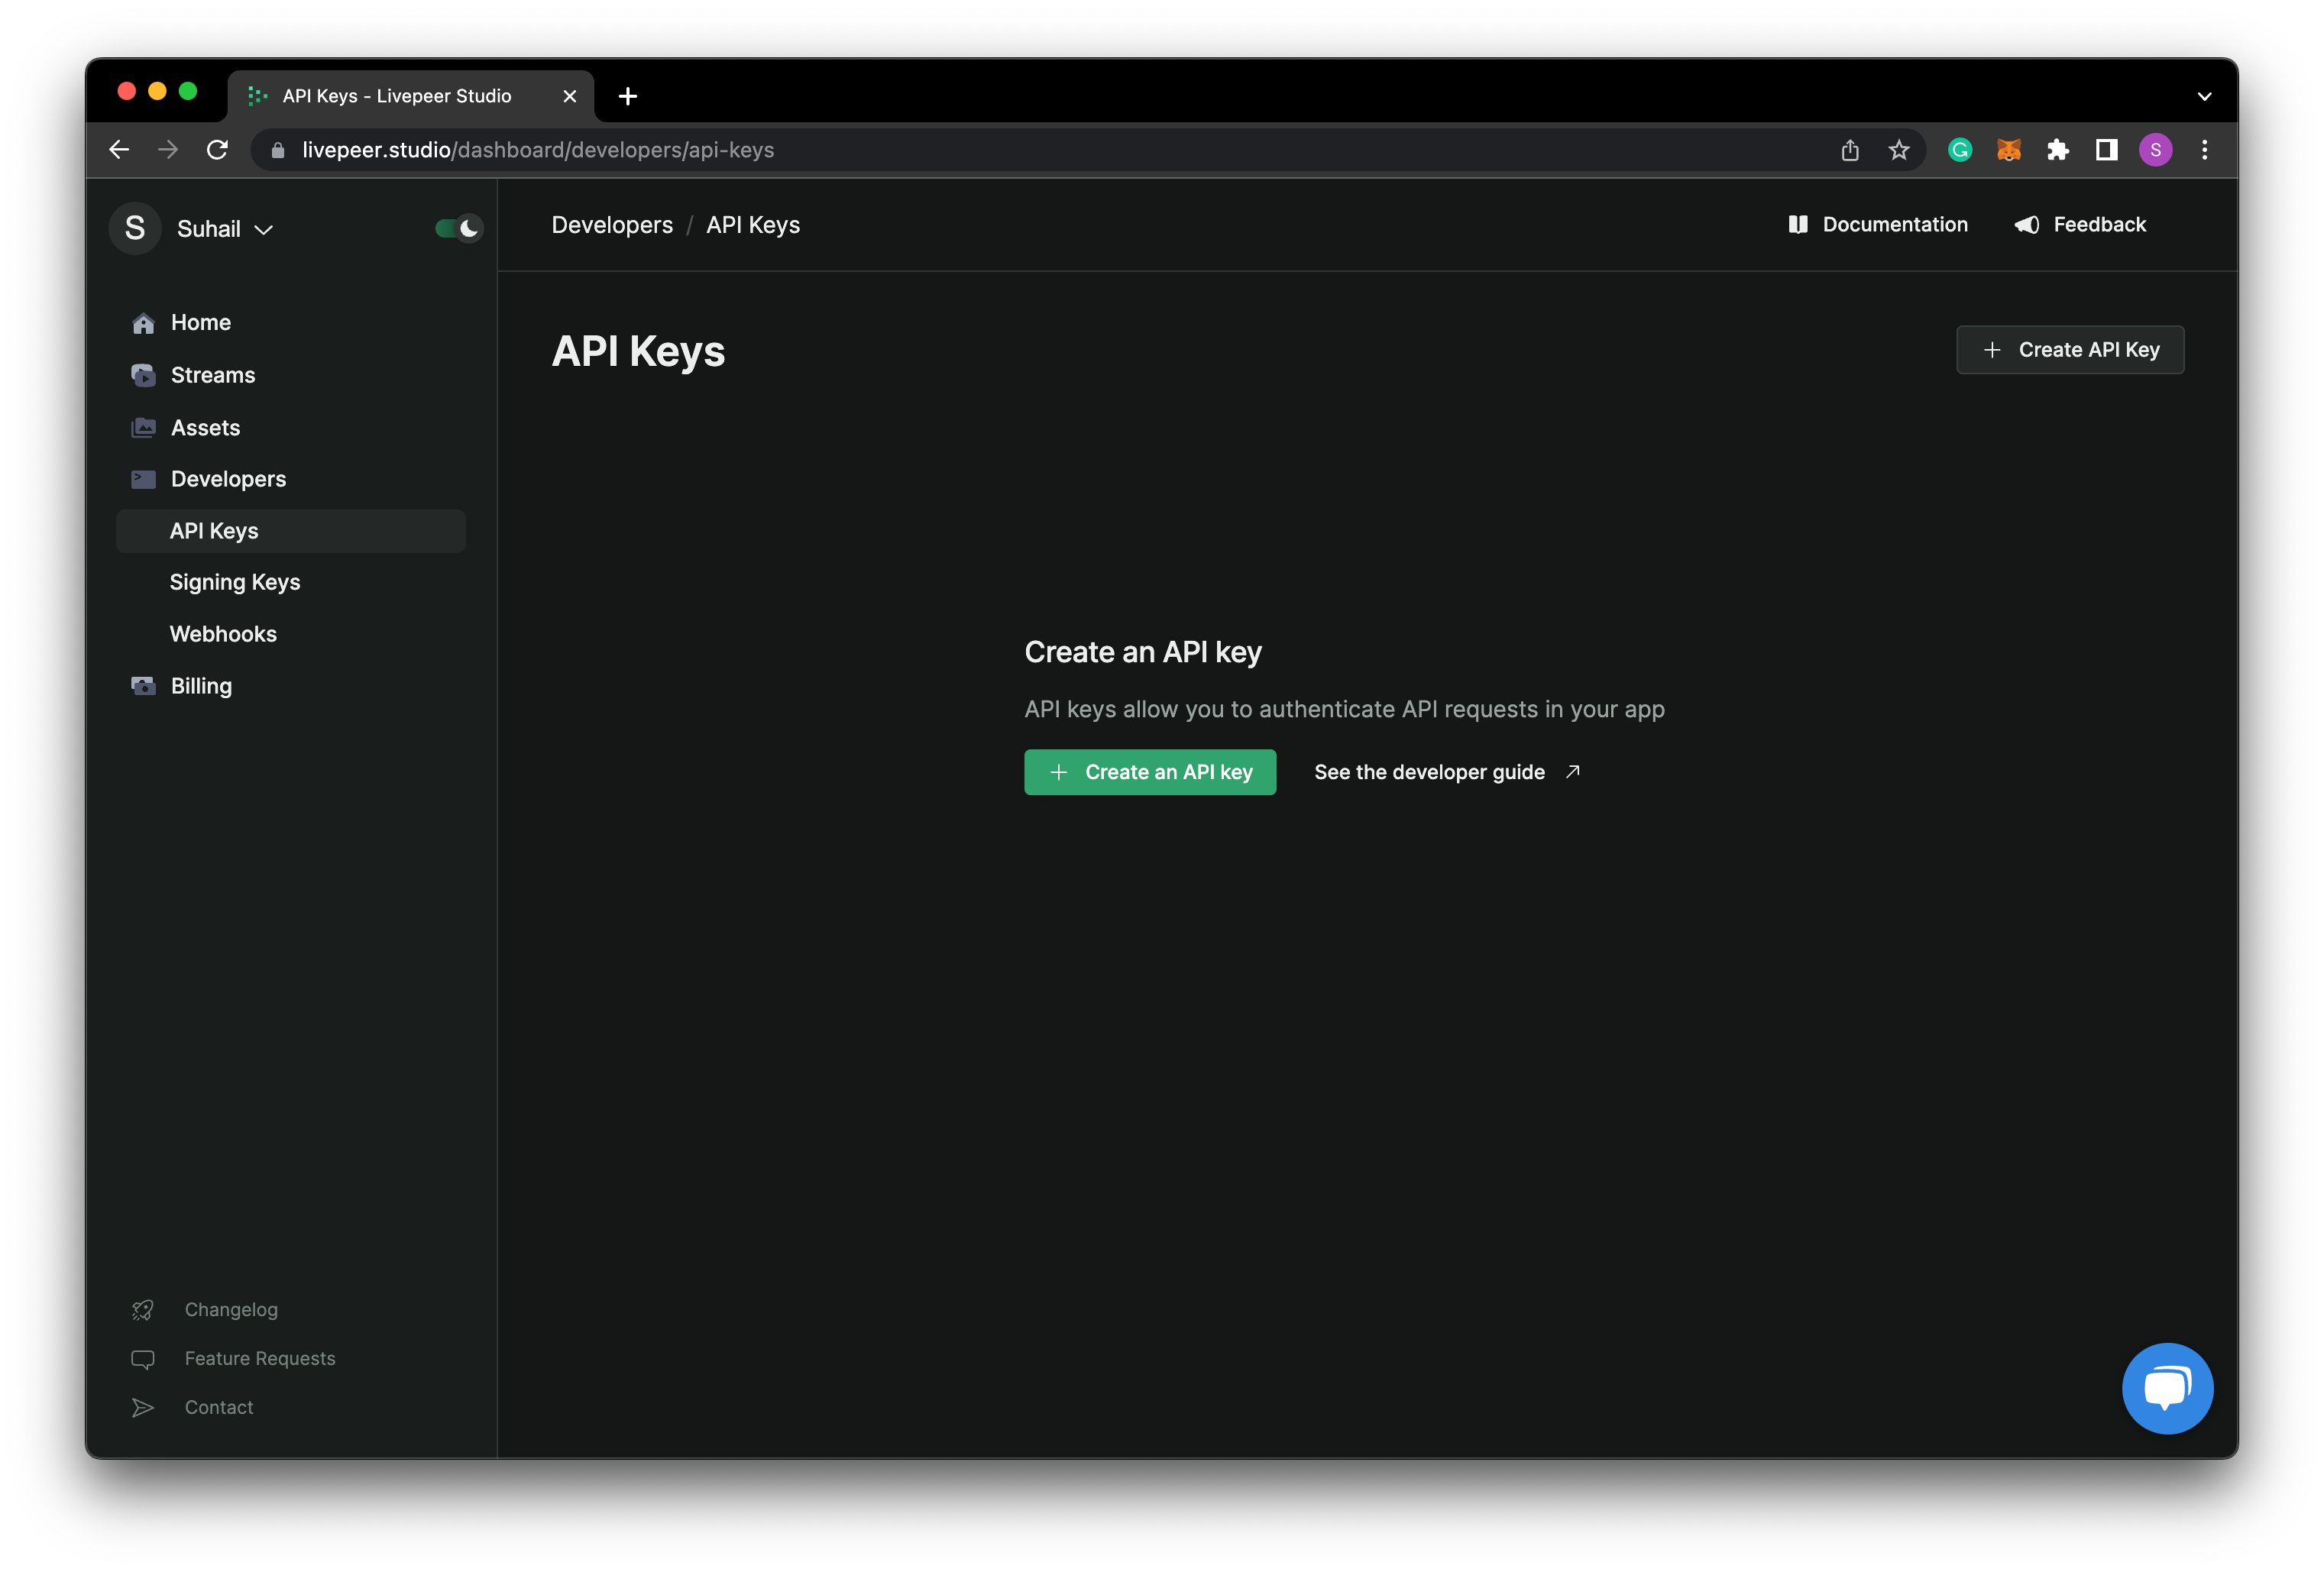
clientin
the root directory, and add the following code to index.js
YOUR_API_KEY with the key which you just copied from
the Livepeer dashboard. And also replace the code inside of _app.js in the
page directory with the below code.